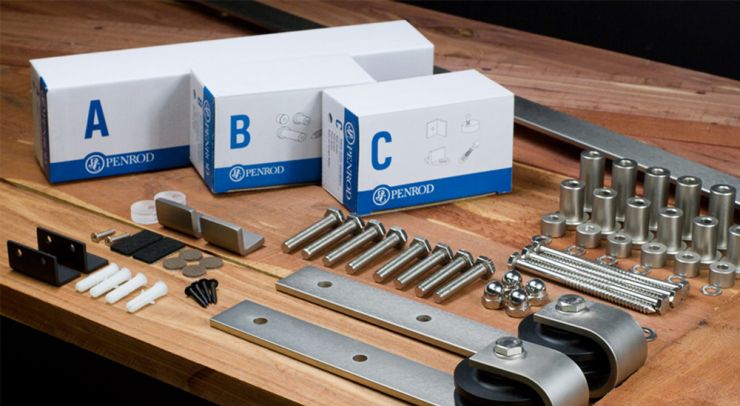
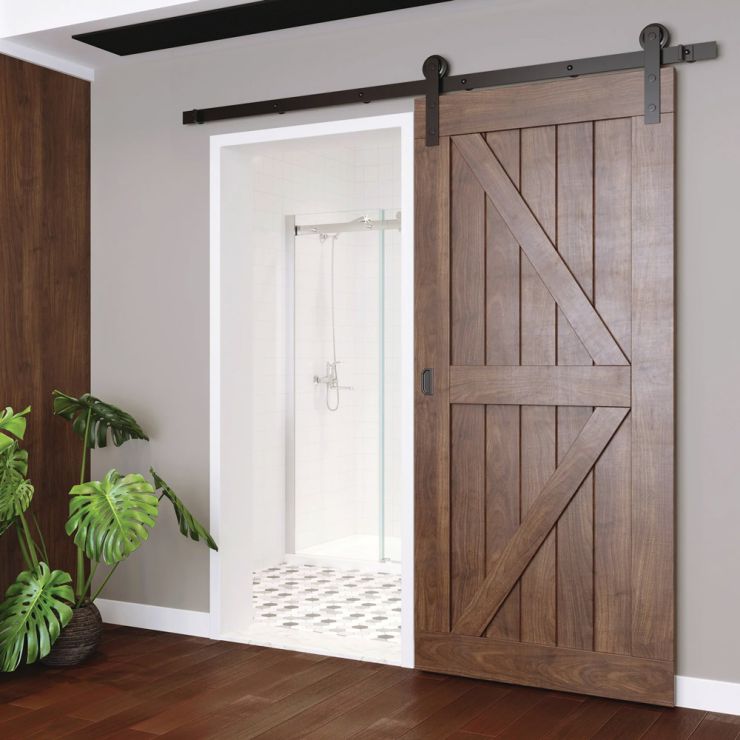
Select between the bent-strap, top-mount, or straight-strap options to determine the incredible aesthetic look of your barn door—all the mounting hardware you need is included in the box.
TRACK LENGTHS
The 6′ and 8′ are available as sets; the 4′, 5′, 6′, 7′, and 8′ are available individually.
FINISHES
Stainless Steel
Satin Nickel
Flat Black
SPACERS
We offer 1-3/8″, 2″, and 1/2″ extensions for wall spacers.
You can have the unique look you want soon after you select it: Your barn door hardware, including barn door tracks, barn door handles, barn door pulls, and mounting hardware, will ship within 24 hours after you place your order!
In fact, if you order before noon, your order will ship the same day, in most instances. And with our network of national distributors, most orders arrive in 48-72 hours. We can boast of an on-time fulfillment rate that exceeds 95%, making us the reliable choice for your barn door hardware needs!
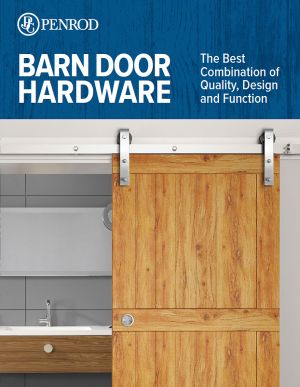
Download Our
Barn Door Brochure
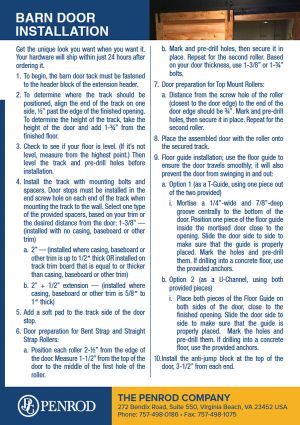
Download the Barn Door installation instructions here.
Industry-Low Free Freight Minimums
We are pleased to offer free shipping on all building hardware supply orders totaling $800 or more. Orders placed by noon ET will ship the same day.
Mix and match any of our products to meet the order level for $0 shipping.
We are standing by to handle your orders, and are proud of our on-time delivery rates that exceed 95%.
Our network of supply centers ensures our products can reach every town in the US within 24-48 hours.